I'm a natural hair girlie, somewhere around 4B/4C, and I live with alopecia (CCCA at my crown), seborrheic dermatitis, and a history of postpartum and hormonal shedding. So when I want a style that looks full and polished, I'm not just thinking about how it looks on day one. I'm thinking about my hairline, my scalp, and what my hair is going to feel and look like when I take the style down.
That's why I love a V-part wig that looks like a sew-in. Here's exactly how I did it, from bonnet to baddie.
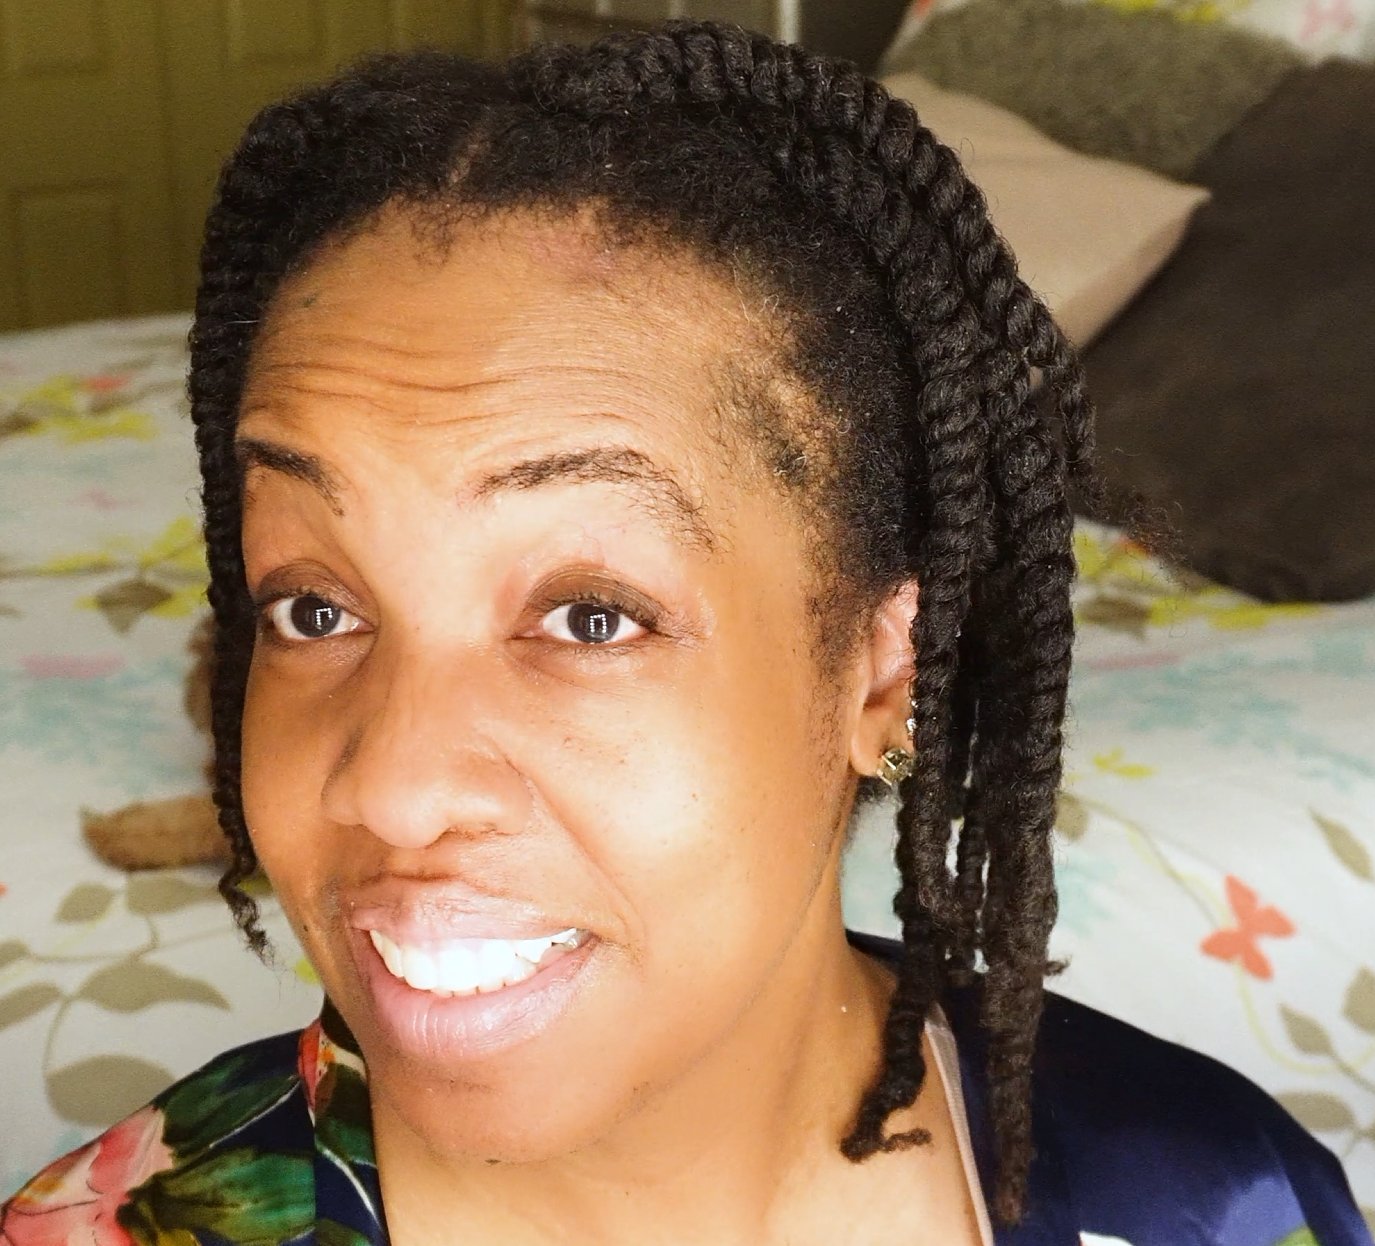
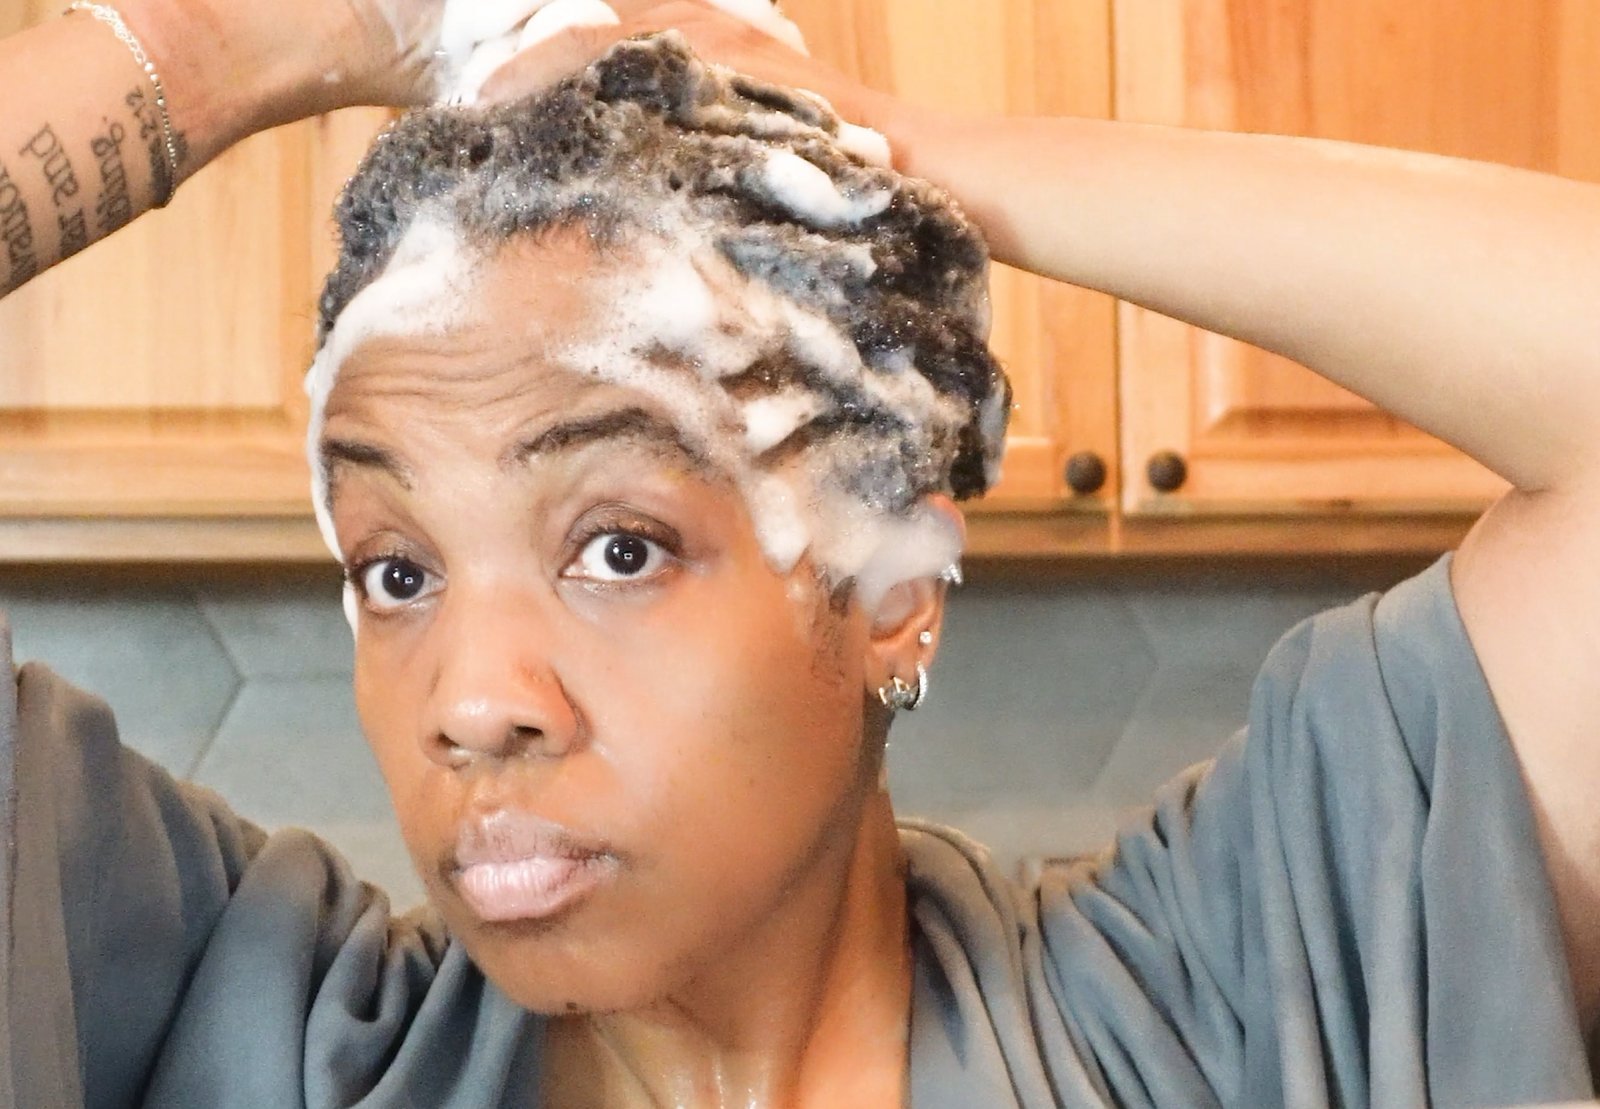
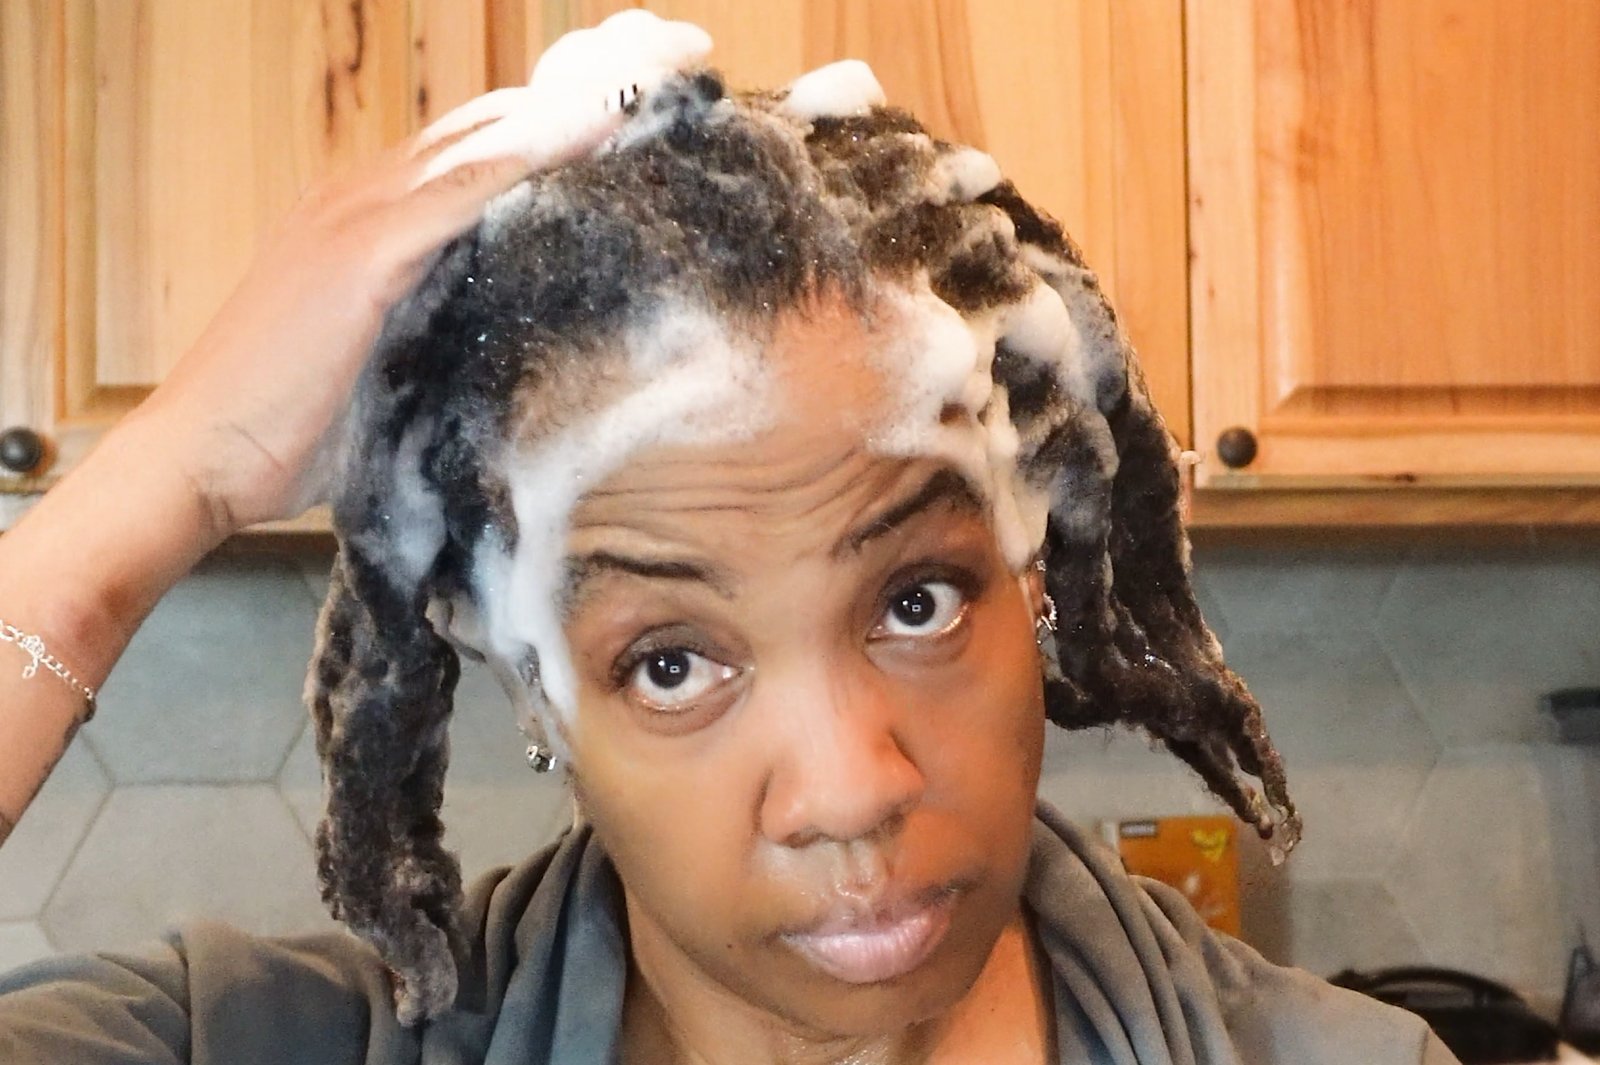
I never skip prep. I did a scalp scrub first, then a medicated shampoo for my seborrheic dermatitis, then a clarifying or moisturizing shampoo depending on what my hair needs that week. After that I deep conditioned with a cholesterol treatment and coconut oil under a hooded steamer for 30 to 40 minutes, then blew my hair out with a paddle-brush dryer, a leave-in, a heat protectant and a chebe butter. Hair that's clean and moisturized sits better under a wig and is easier to take care of later.
In the video I also show a diluted at-home hairline relaxer. I only do that every few years, and I don't recommend doing it often or without the right supplies, including neutralizing shampoo. If you have scalp conditions, talk to a dermatologist or a licensed stylist before trying anything chemical.
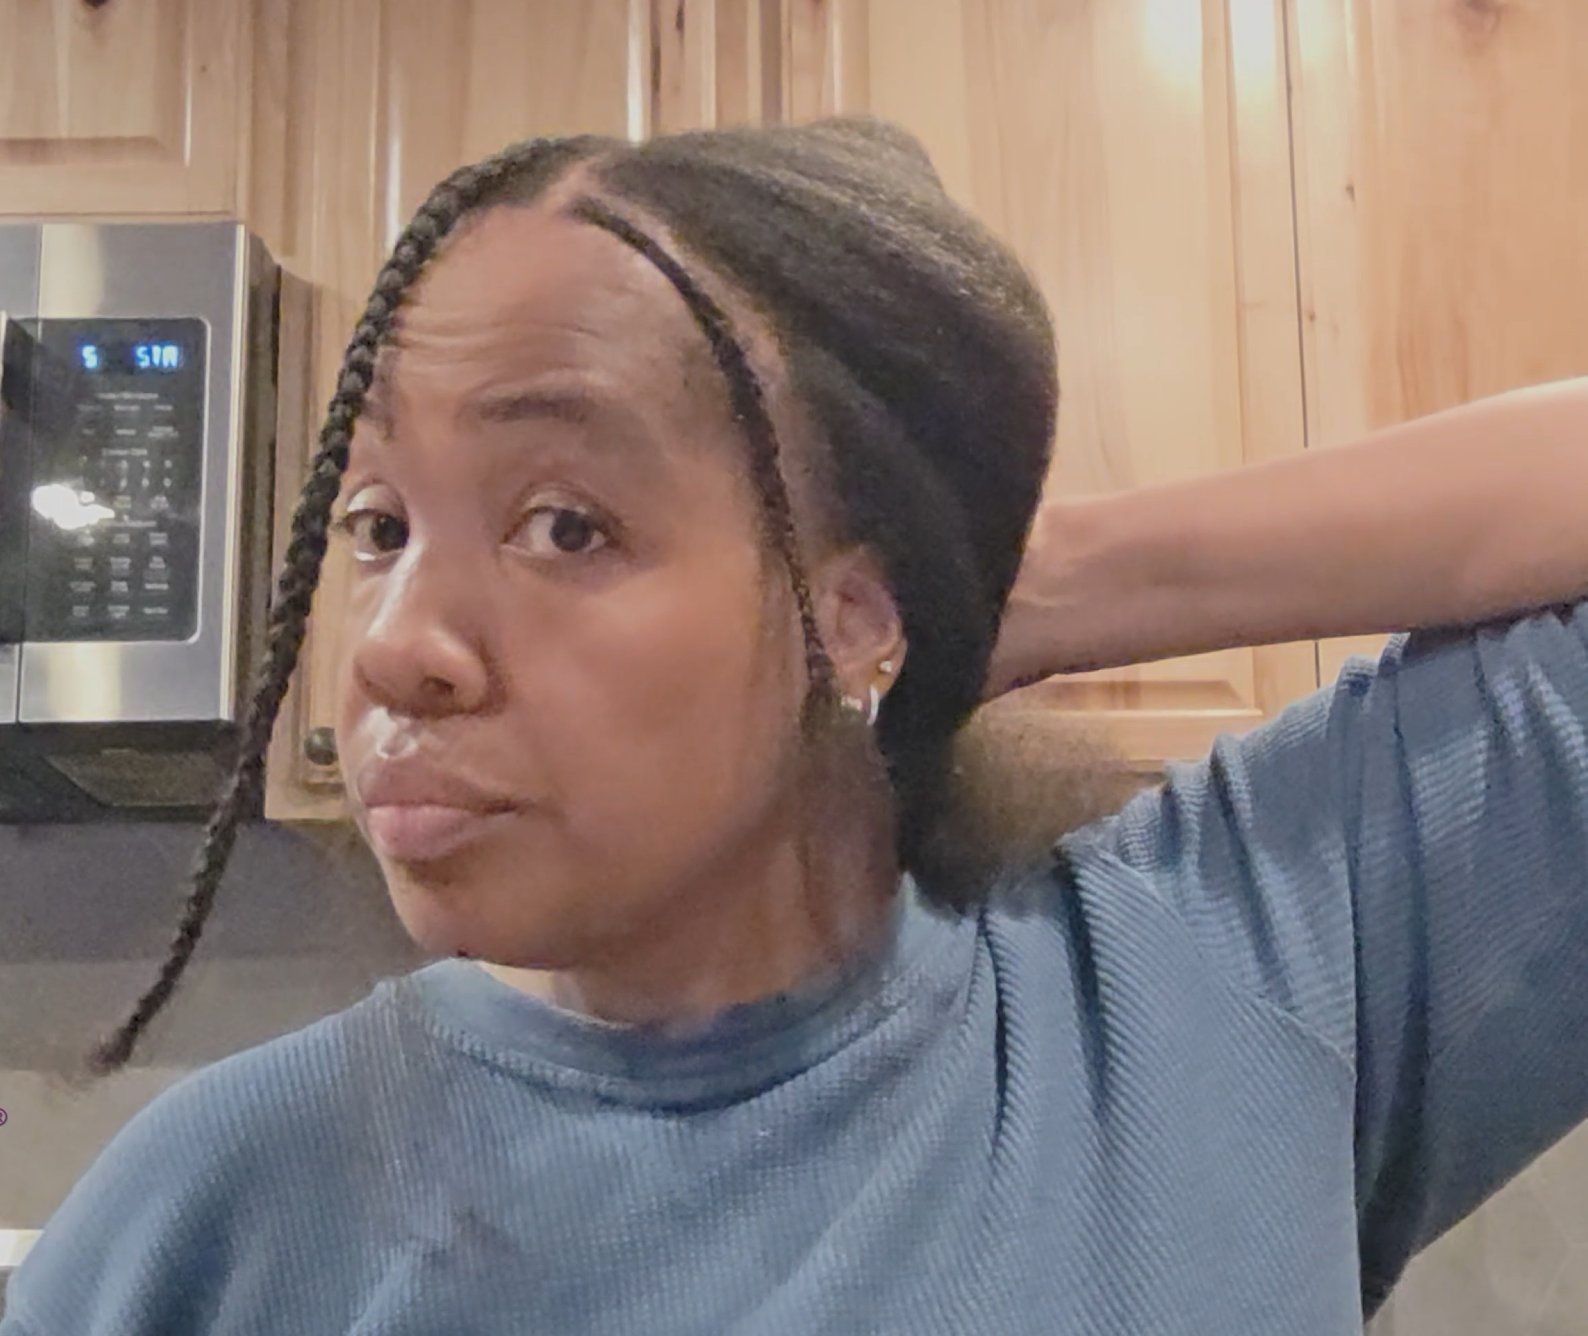
The goal for this style was a V-part wig with a small leave-out so my hairline and scalp could breathe before braid season. A V-part wig leaves a V-shaped section of your own hair out at the top, which blends right into the unit. Because the leave-out is small, there's less of your own hair to blend and less to heat-style.
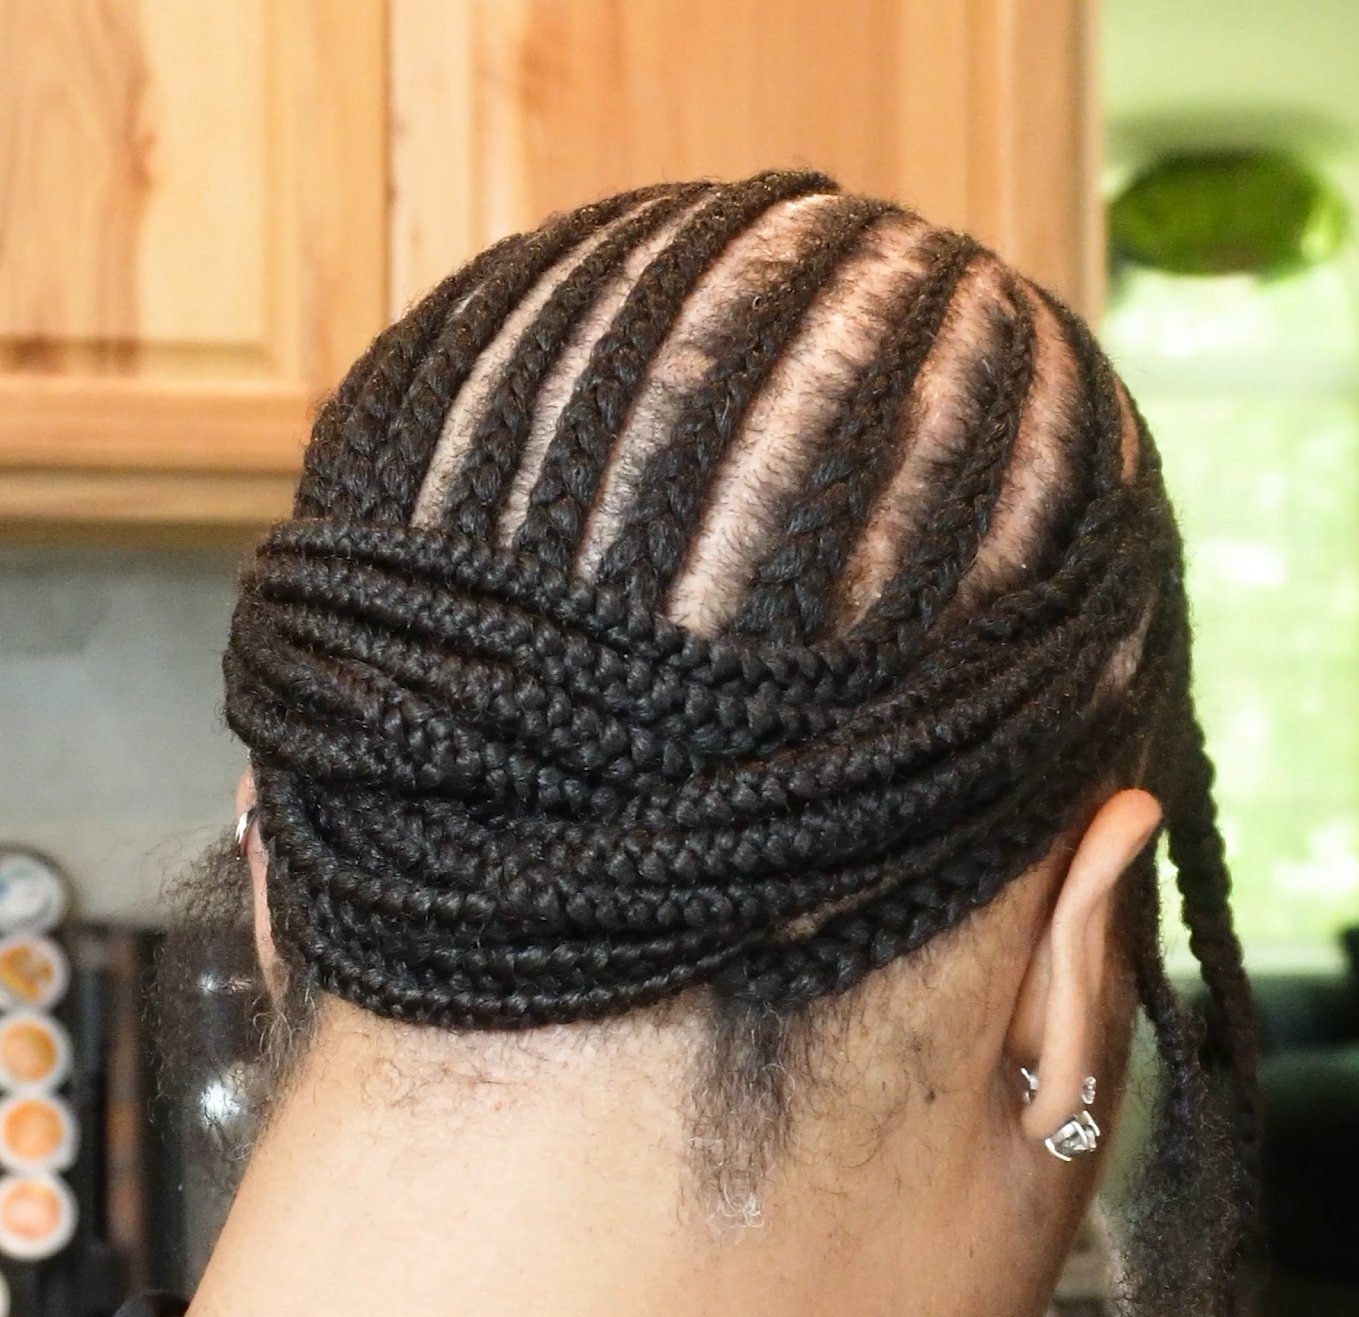
I sectioned my leave-out and had my braider do a flat, comfortable braid down. Two things I did; asked my braider for crossover cornrows, which help hide thinning at the crown, and I sewed down the ends of the braids myself, instead of crocheted through, so there's less bulk and less pulling. If a braid down ever feels tight or painful, speak up. A good install should never hurt.
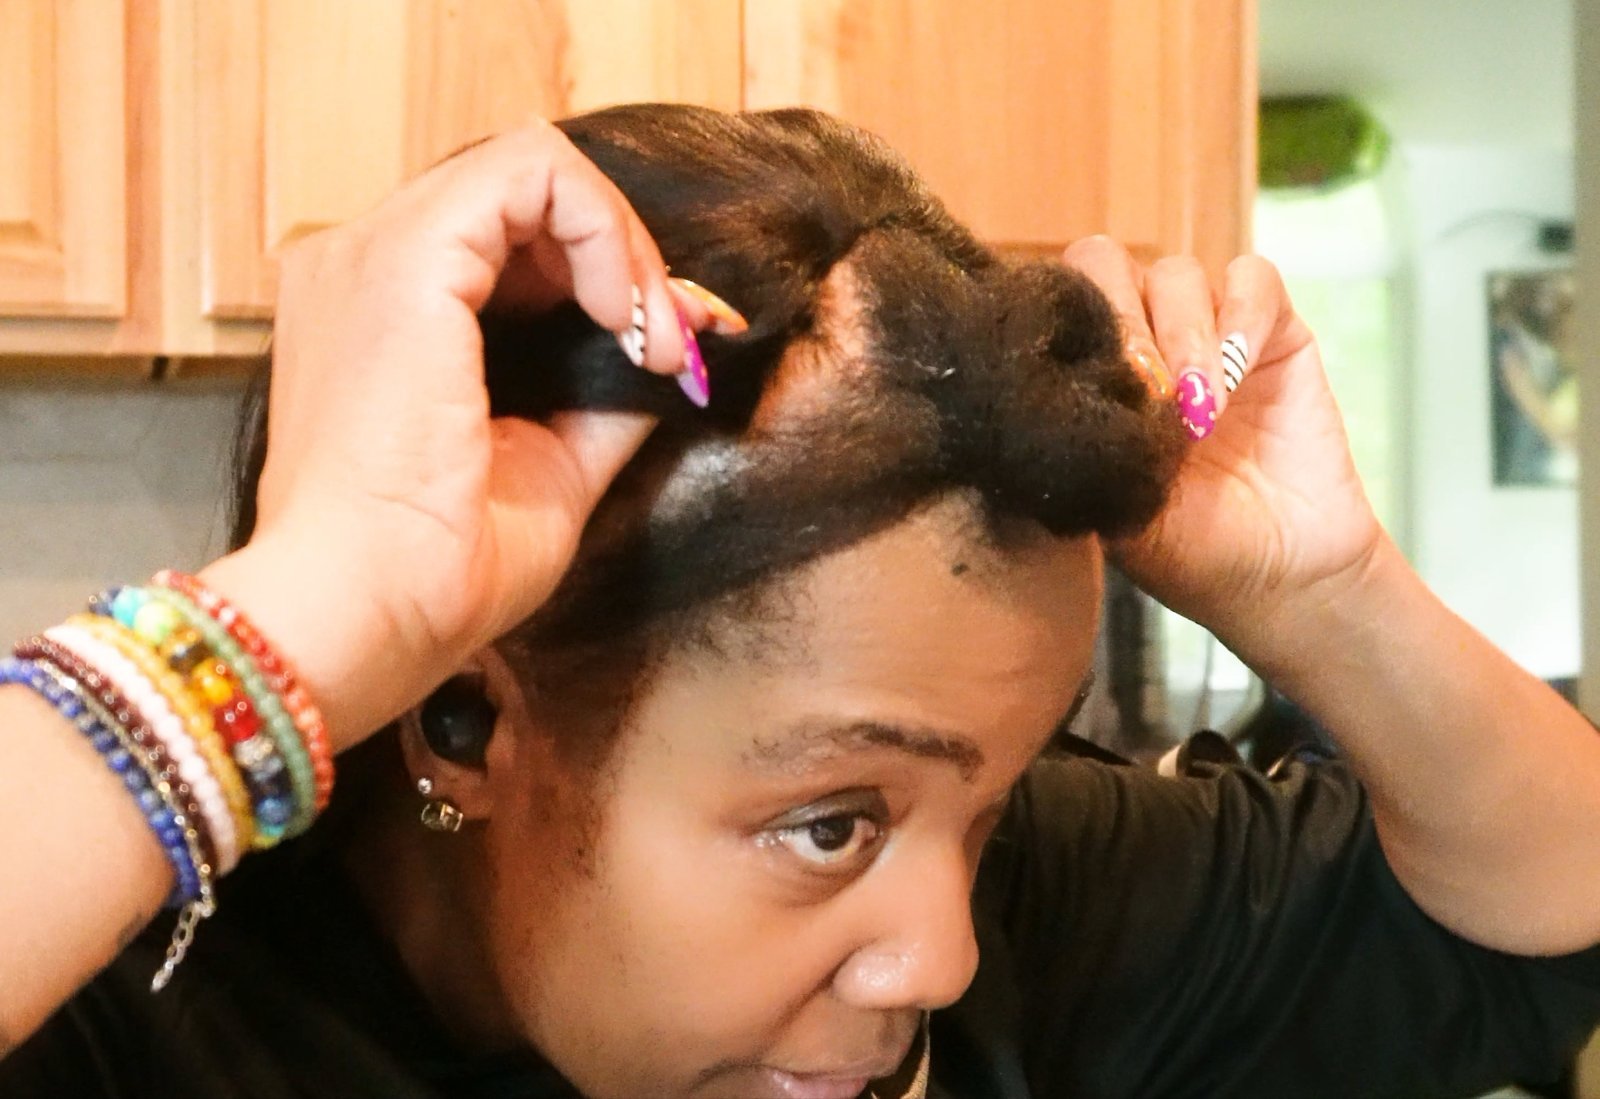
My unit was a Unice 22-inch Yaki straight in 1B with 27 frosted tips. The texture looked natural and the construction felt solid: combs, an adjustable band with silicone grip strips and a drawstring. Two choices I'd make again:
When you sew, keep the needle going through the braid, not down toward your scalp, and don't sew too tight. Snug is enough. Tight is how you end up with a headache and a sore hairline and even worse, ALOPECIA!
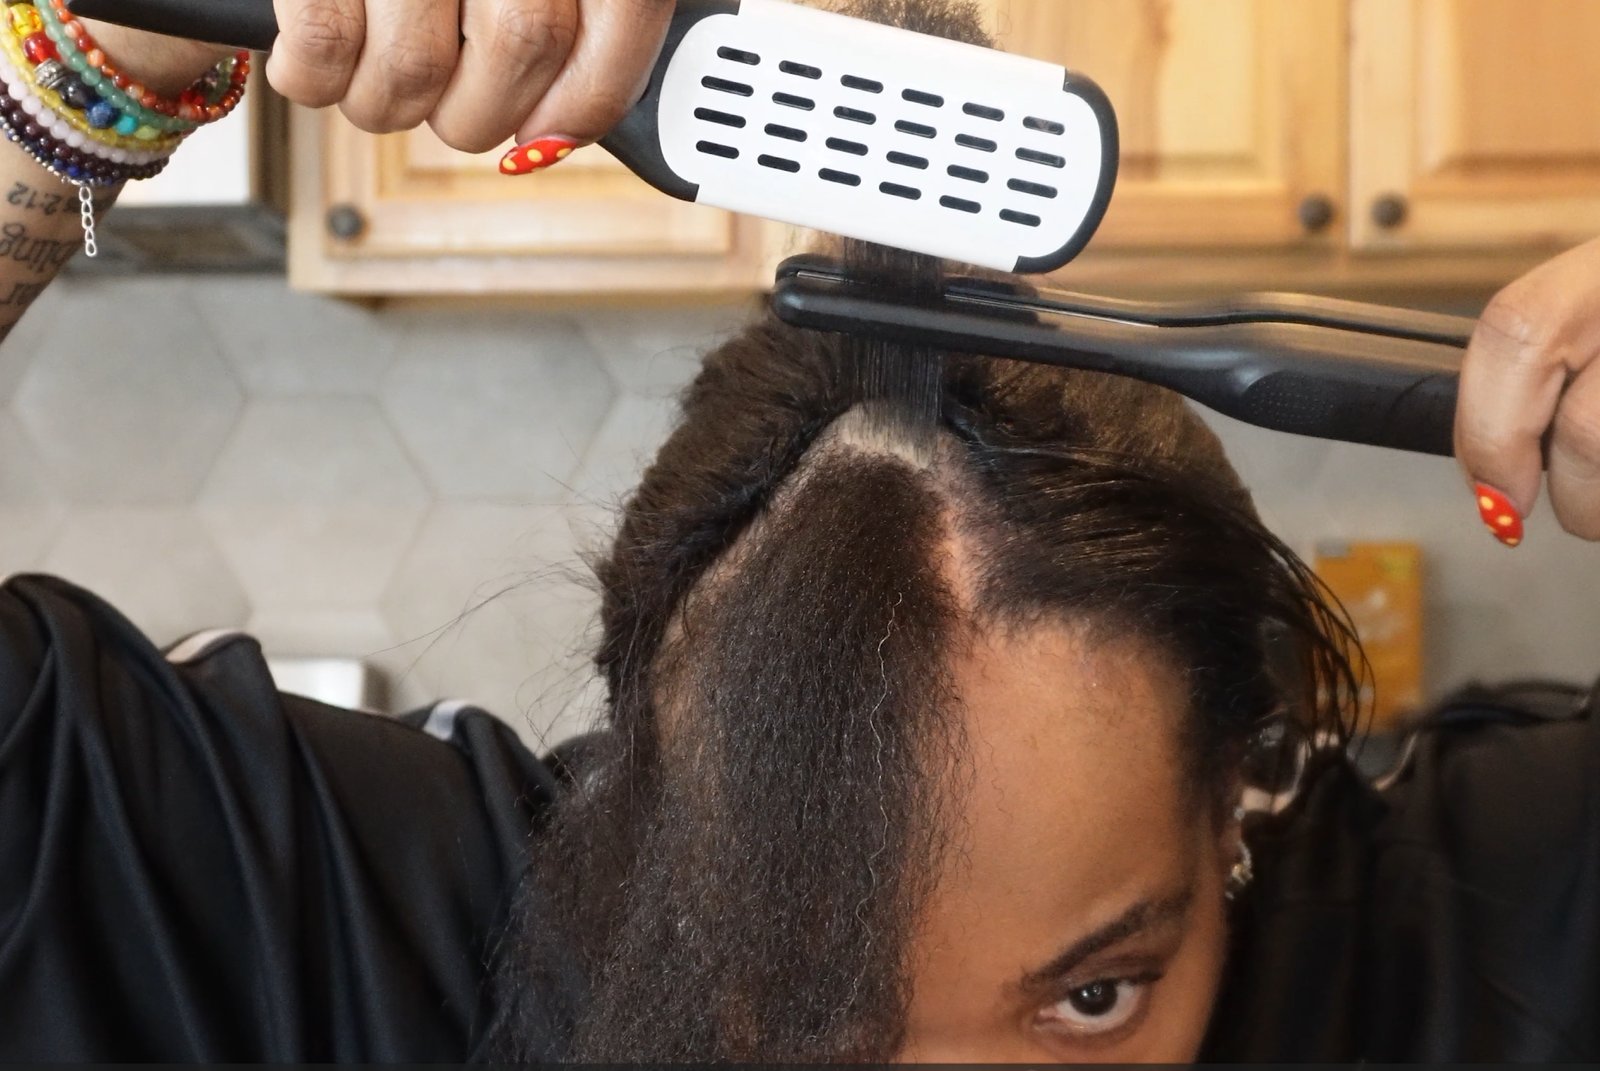
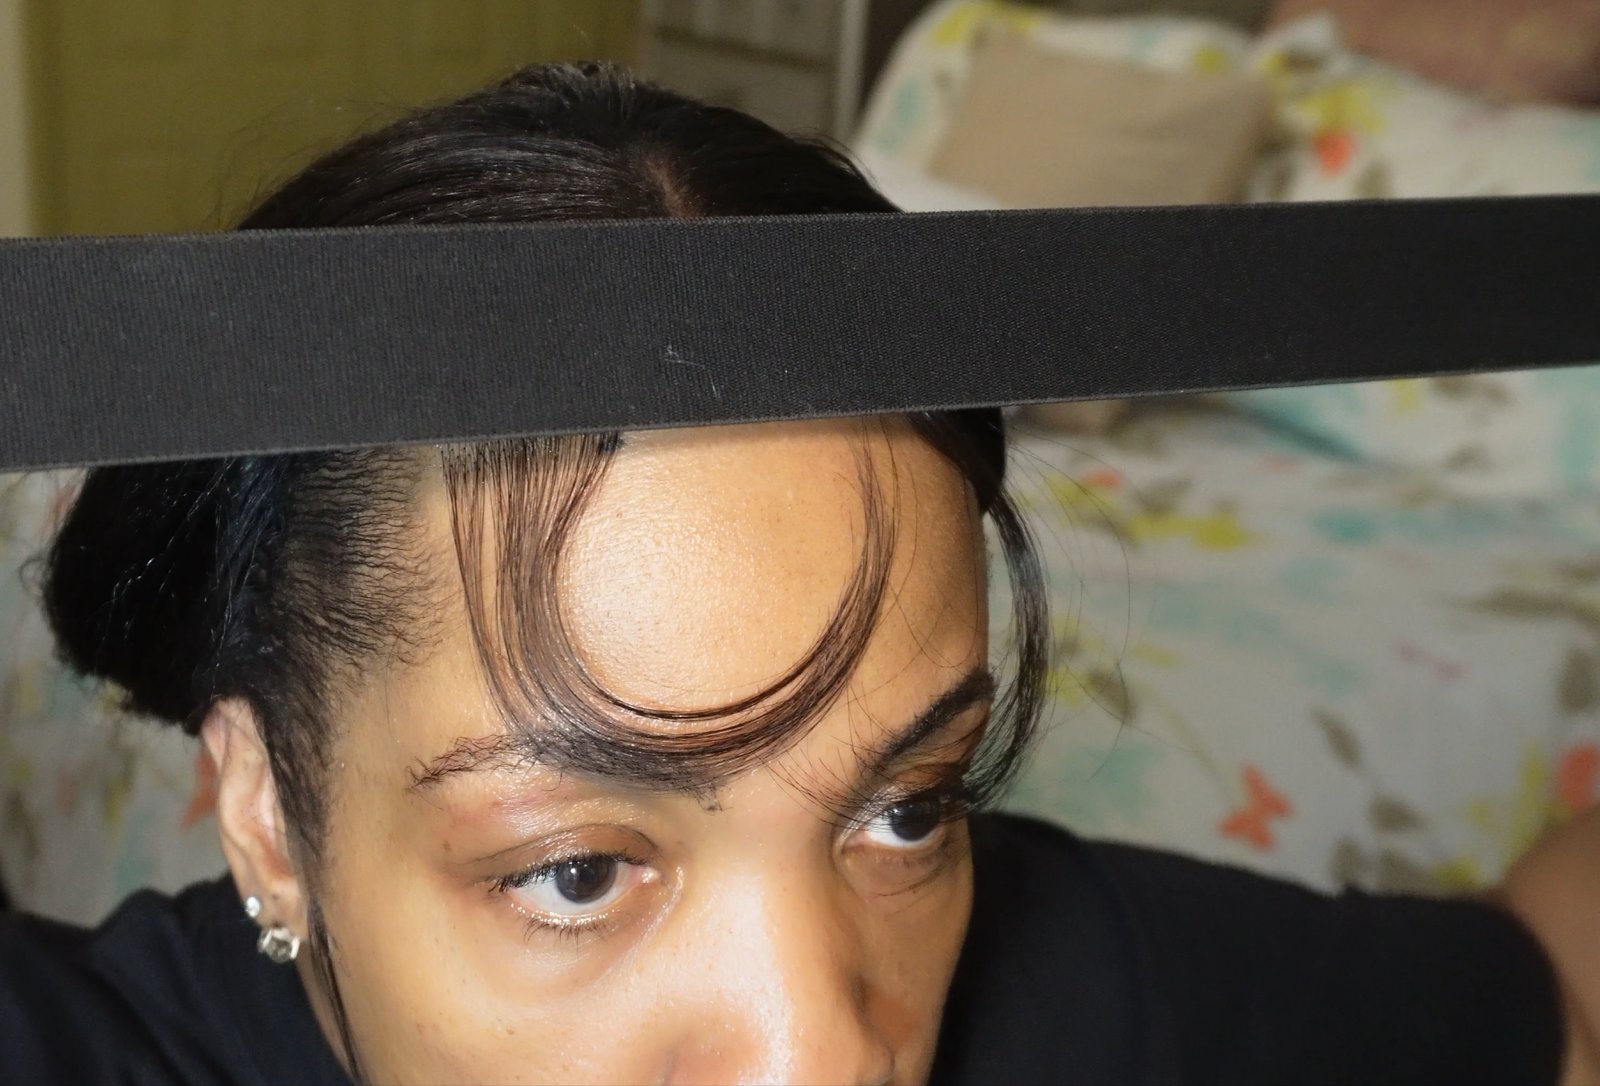
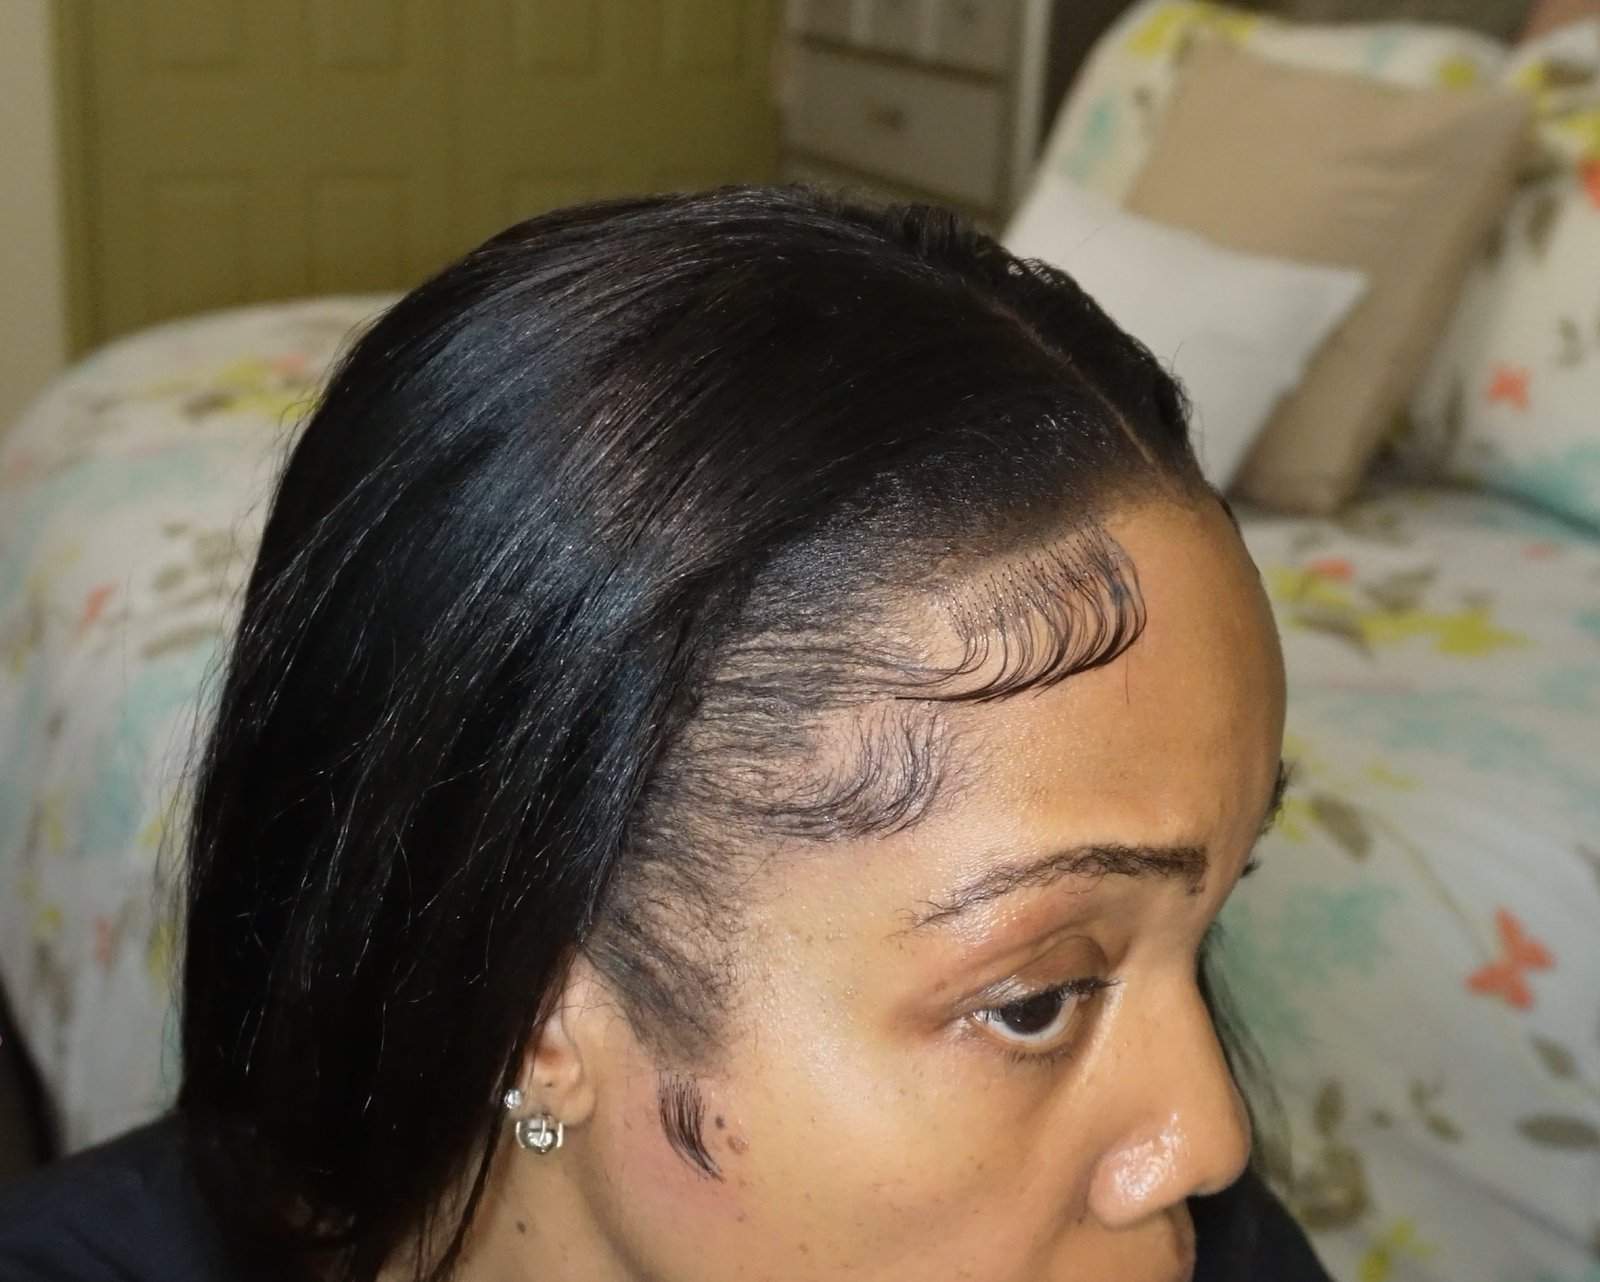
I pressed my leave-out with a slim flat iron and a straightening brush, using heat protectant and serum, then added a root tint spray to conceal thin spots. For the edges, I laid them with edge control, added HD-lace human-hair fake baby hair with lace glue and a melting spray, styled them, and finished with a wax stick and a foundation touch-up on the lace. Fake baby hair is a great option if your own edges are thin, because it gives you the look without putting the wear and tear on your real hairline.
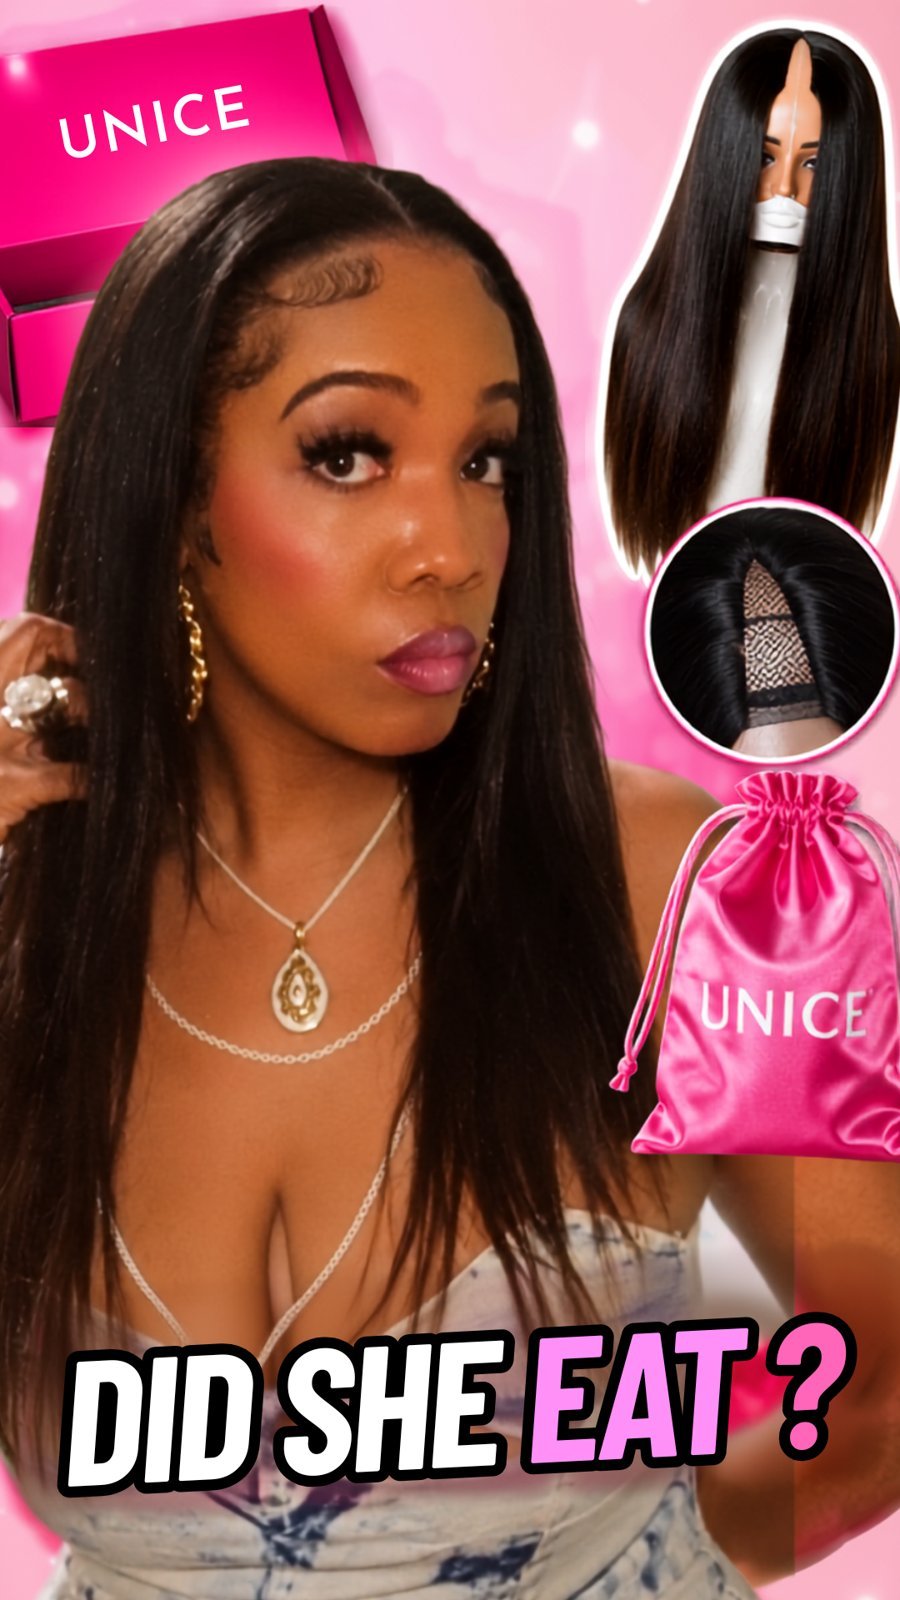
I think so! A flat braid down, a small leave-out, a gentle hand with the needle and edges that melt into the lace do most of the work. Watch the full reveal and tell me if I understood the assignment.
The wig and the install
Wash day and prep
Heat and styling
More from me
Want more hair and beauty routines? Visit The Glow Lab.
This post shares my personal experience and is not medical advice. Talk to a doctor or dermatologist about scalp or hair loss concerns.
Disclosure: this post contains affiliate links. As an Amazon Associate I earn from qualifying purchases, at no extra cost to you. This is my personal routine, not medical advice.
